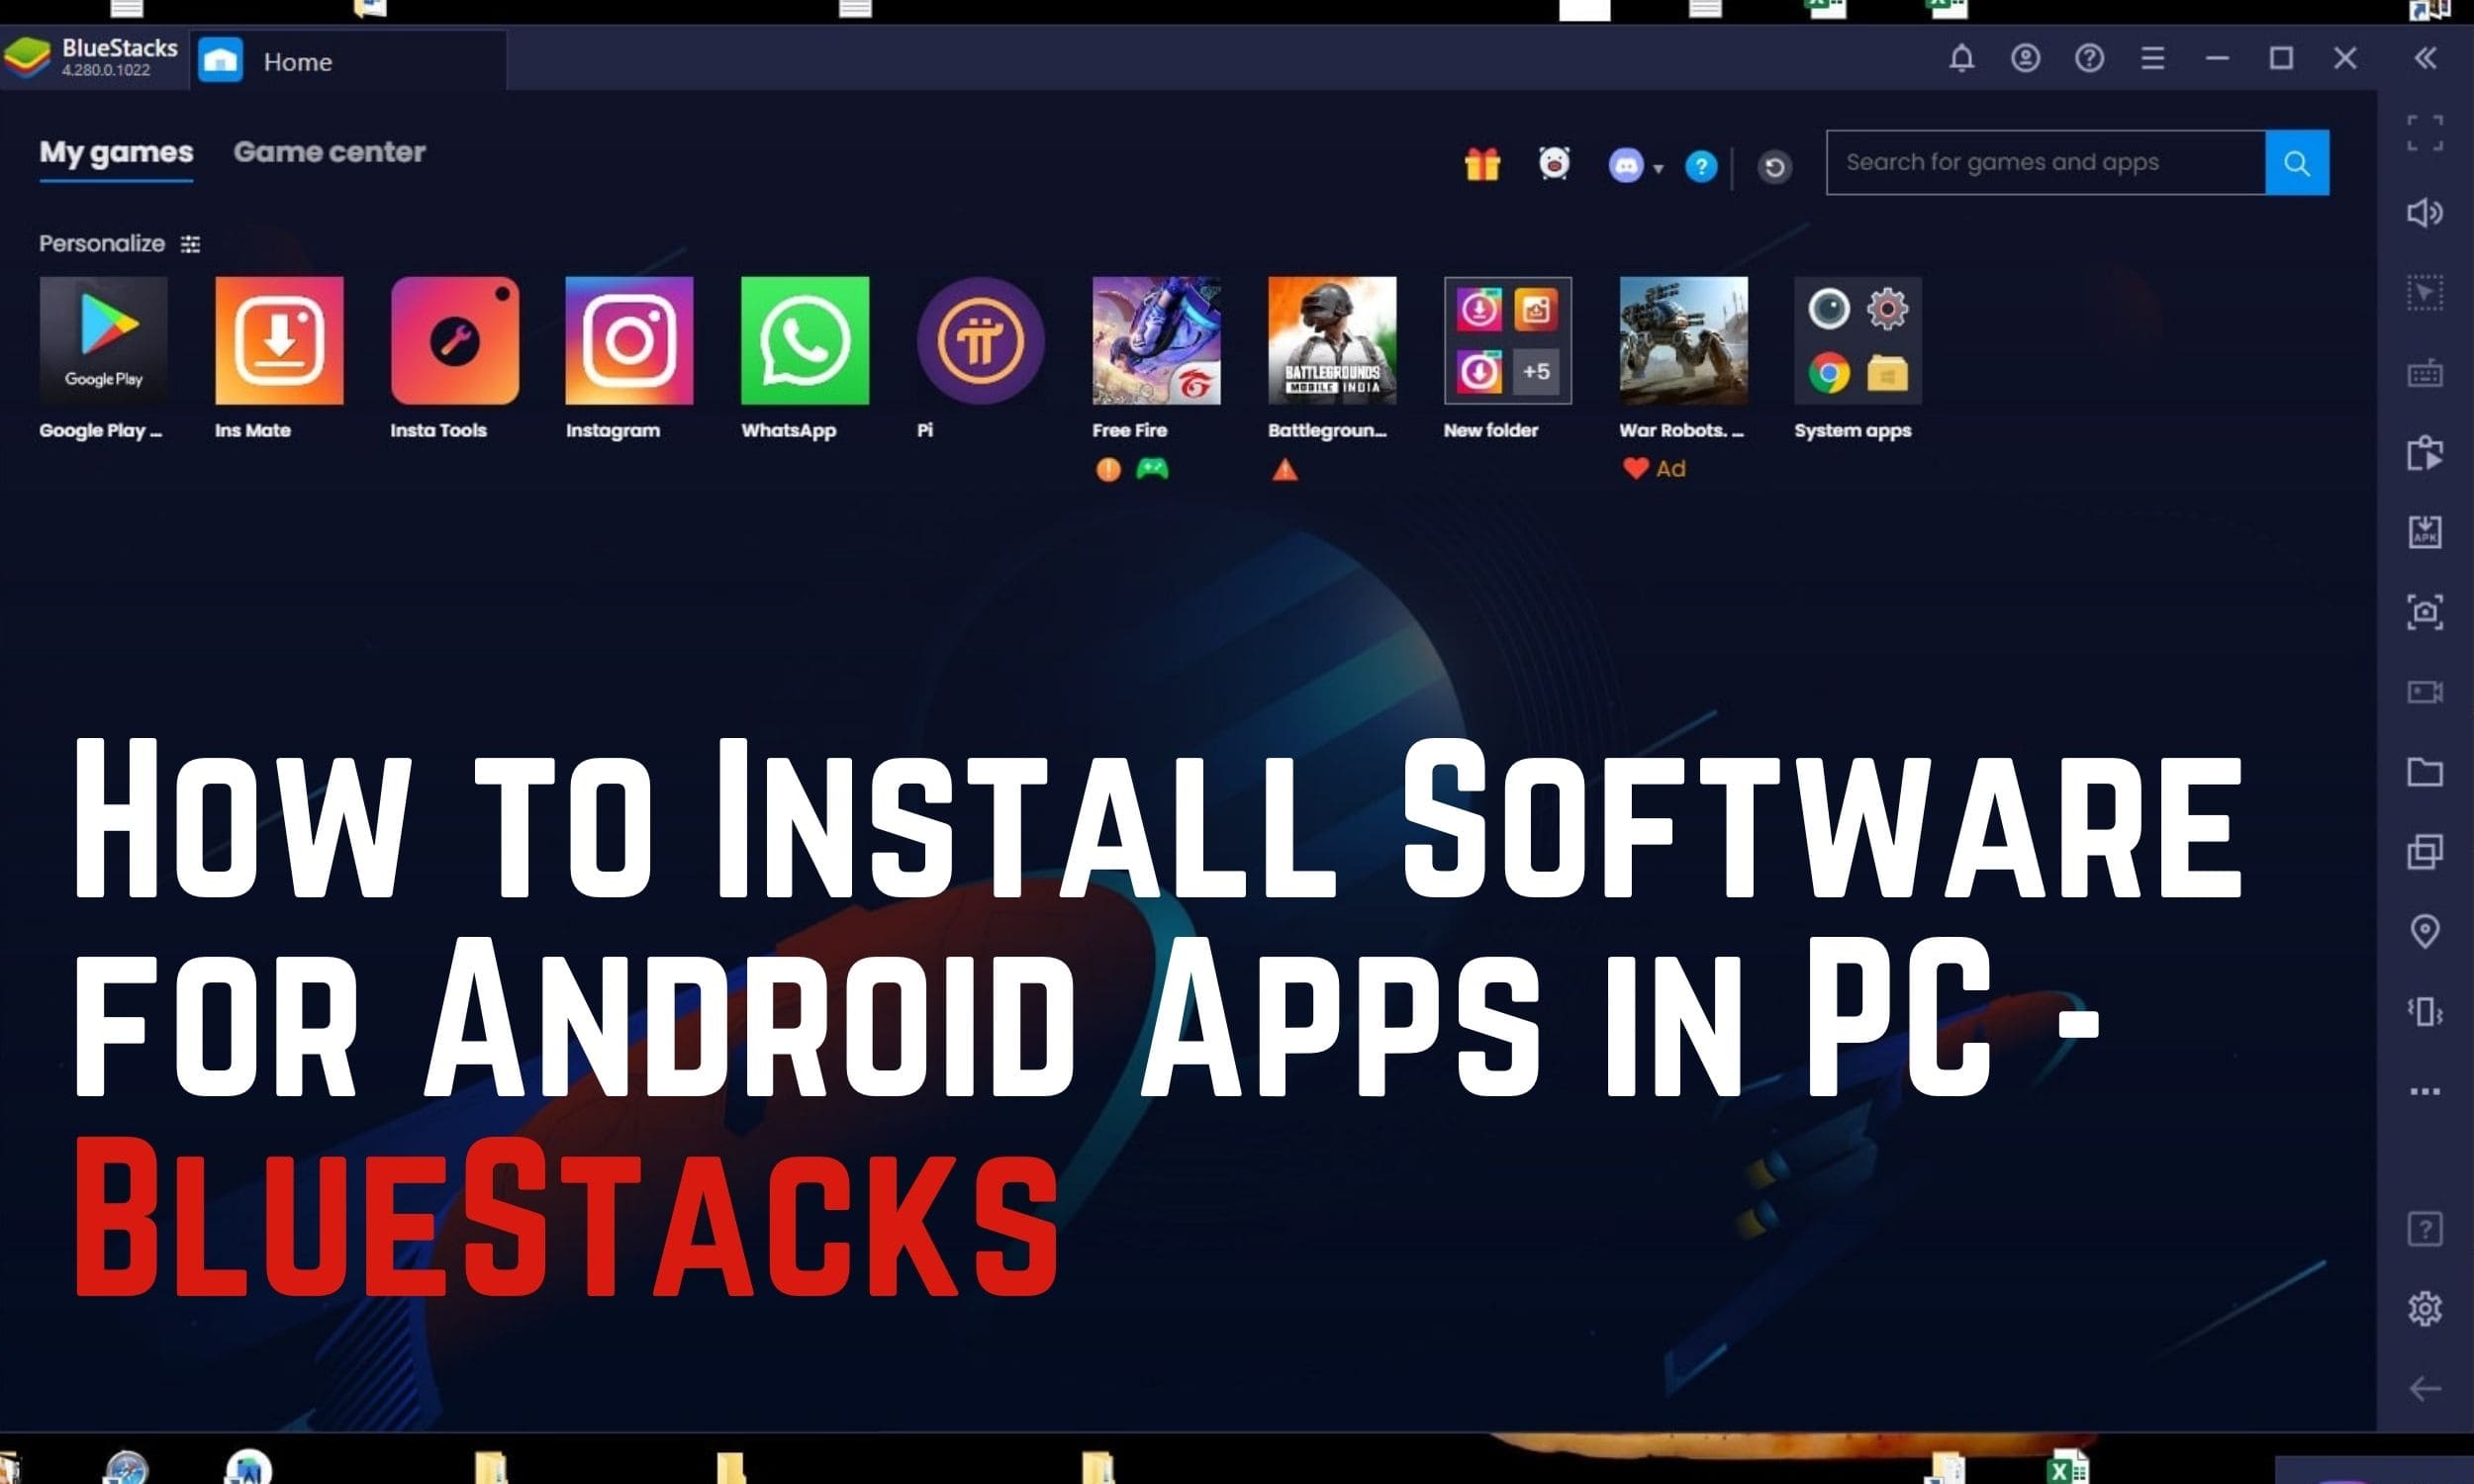
BlueStacks 5 is not less than a beast in the world of Android gaming platforms for PC. Why? Read the points given below, and you’ll never ask this question again :
- It uses 40 % less RAM than other platforms, which will provide you a smooth gaming experience with not being too hard on your PC.
- Consumes less CPU while having long sessions.
- Comes with 2M+ apps.
- 40% faster set up than previous versions.
This article will guide, how you can install BlueStacks 5 on your Windows operating system in 5 easy steps. But, before starting the installation process. First Make sure that your PC or Desktop fulfills the minimum system requirements for BlueStacks 5.
BlueStacks Requirements :
- Operating System : Windows 7 and above. (Windows 10 Recommended)
- Processor : Intel or AMD Processor.
- Minimum Ram : 2GB ( 8 GB or higher is recommended)
- Minimum HDD Space : 5GB Free Disk Space.
Recommended System Requirements For Smoother Experience :
- Operating System : Microsoft Windows 10
- Processor: Intel or AMD Multi-Core Processor with Single Thread PassMark score > 900.
- Graphics: Intel/Nvidia/ATI, Onboard or Discrete controller with PassMark score >= 700.
- RAM: 8GB or higher
- HDD: SSD or Hybrid Drives of at-least 500 GB.
- Internet: Broadband connection to access games & accounts.
Follow the Steps given below to Download and Install BlueStacks on Windows :
- Step 1: Click here, and Download the latest version of BlueStacks. At the time of writing this article, BlueStacks 5 is the latest version, so I will be downloading the BlueStacks 5.
- Step 2: As soon as the download completes, double click on the installation file and start the installation process. By default, our app player installs to your C drive. However, you will be prompted to confirm the parameters of the installation and will be able to change the install directory.
- Step 3: After completing the installation process, you will need to sign in with your Google play store account. On opening the BlueStacks, you will see a Google play store icon. Click on it to proceed further.
- Step 4: Enter your user id and password, and then click on the Next button.
- Step 5: Agree with the terms & conditions of the Google play store as shown in the below animation.
That’s all! With this, you’ve successfully installed the BlueStacks 5 on your Windows PC. Now, you can easily download any application from the play store and use it on your Windows computer.
Get the latest version of Bluestacks from here – Download Bluestacks
![]()


